We’re proud to present a two part series of HOW TO PHOTOGRAPH FLOWERS photo tips. Many of the pictures were taken by people just like you. They love photography and they love flowers and they were willing to get their knees dirty. That’s pretty much all it takes.
(Part Two is available by clicking here)
1. UNDERSTAND THE TWO DIFFERENT KINDS OF FLOWER PHOTOS
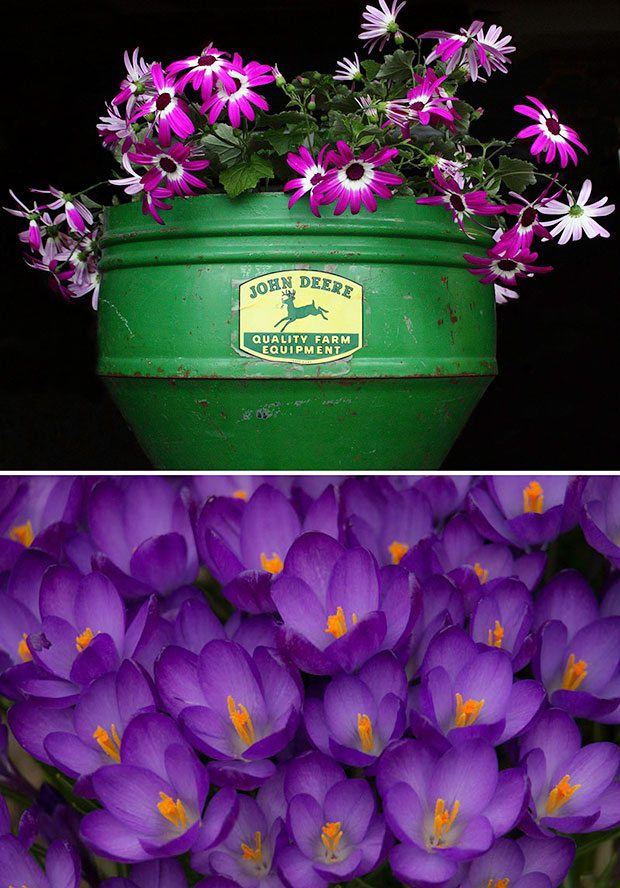
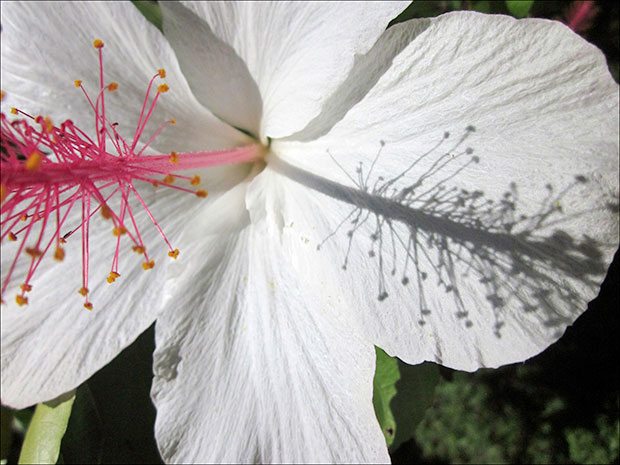
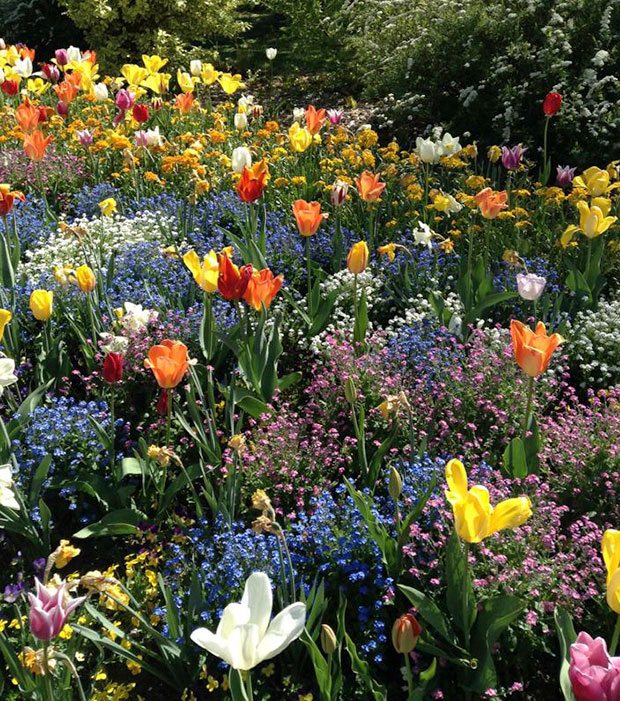
top photo by Annette Dakota / bottom Nick Kelsh
First, there are the kind that celebrate nature all by itself. And then, there are flower photographs that include a human element. Both of them are valid and both of them can be extraordinarily powerful and beautiful. Flowers alone can feel like a celebration of life itself. When you include something in your photographs that’s man-made, there’s a hint of a relationship happening— and a wonderful relationship it is. Should I include a human element or not? It’s a personal, creative decision. There’s no right or wrong here—it’s just something to keep in mind. It’s two different feelings.
2. WATCH YOUR BACKGROUNDS
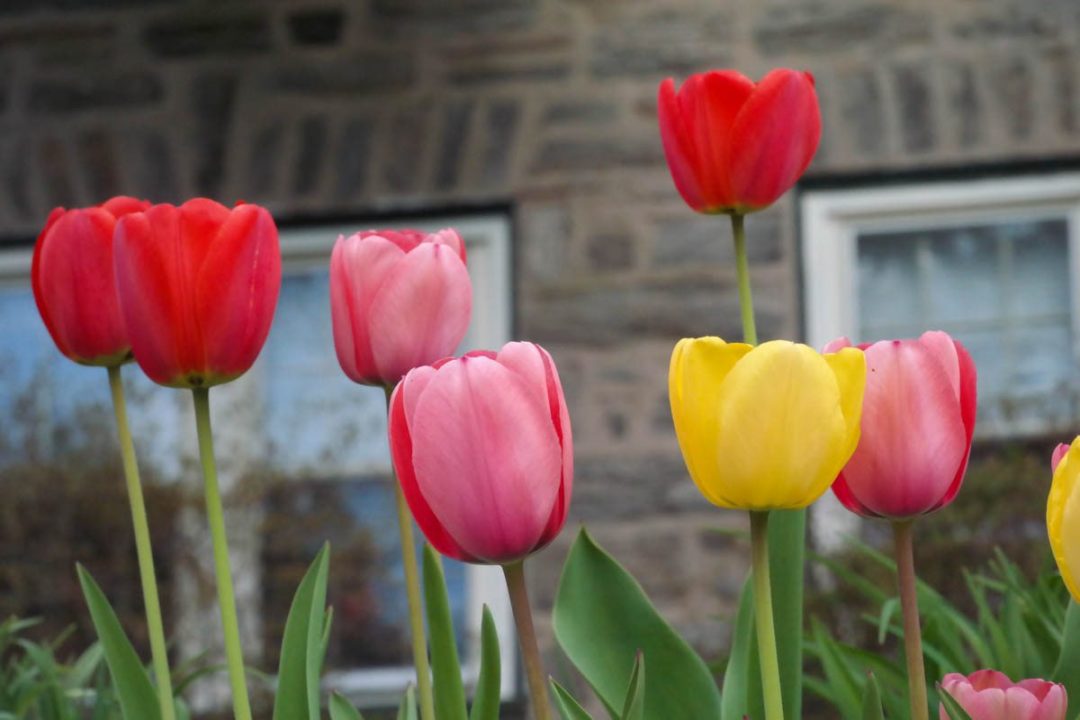
photo by Nick Kelsh
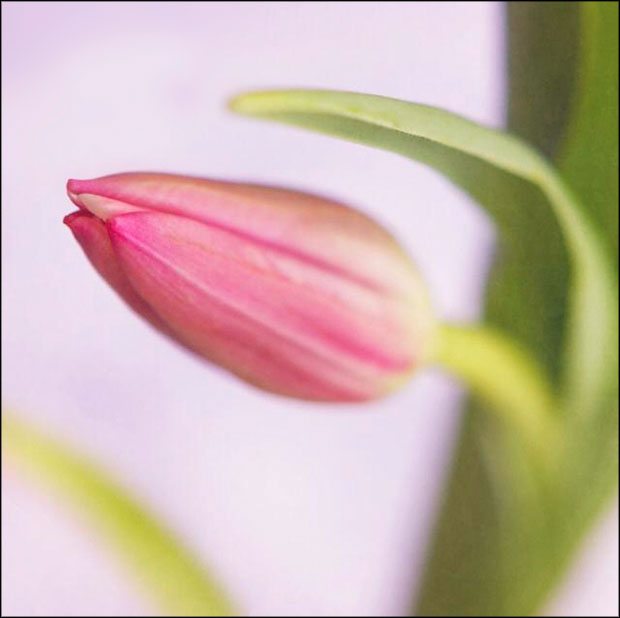
This is practically the most important flower photo tip. You have to keep your eyes on the background—all the time; it will steal the show if you let it. Perhaps the easiest way to deal with a distracting background is to put it out of focus. There are a few ways to do that. Getting closer to the flower will put the background more out of focus. Using a larger aperture or a longer lens will also help. Knowing how to combine all three is what you need to master. (That’s what my Going Manual Course is all about). But make no mistake about it, you need to seriously consider the background every time you photograph a flower. There’s no getting around it.
3. LOOK FOR CREATIVE ANGLES
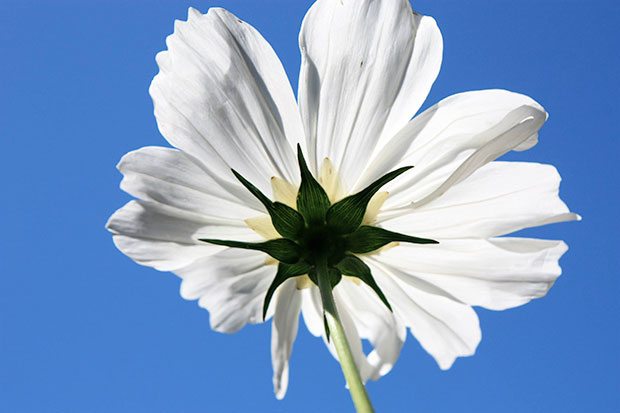
photo by Carol Kyle
Another way to eliminate anything you don’t want your viewer to see is to find the right angle. Sometimes putting your camera at a very low angle looking up at the flowers can do the trick. This, however, may not be as easy as it sounds. If your camera is looking straight up it’s a little difficult to put your head under the viewfinder. Many newer cameras have the swivel viewfinder on the back that allows you to see what the camera is seeing even if the camera is lying on the ground. This is a terrific flower photography tool and if you’ve got a camera like that you should take advantage of.
4. AVOID A WINDY DAY
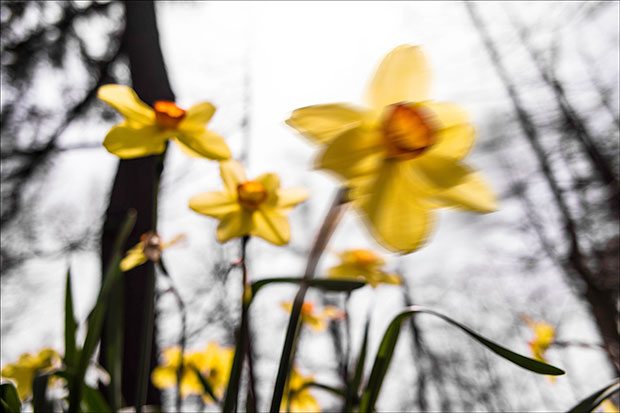
photo by Nick Kelsh
Flower photography can be an uphill battle when the wind is blowing. When you get in close to flowers that are swaying back and forth you can get actually get a little seasick looking through your camera viewfinder. Generally speaking, the wind kicks up in the middle of the day. Fortunately, the light is generally nicer earlier or later in the day, so when you combine still air and the beautiful light of early morning or evening, it’s flower photography time. Flower photographers often go to bed early.
5. THE PLAMP
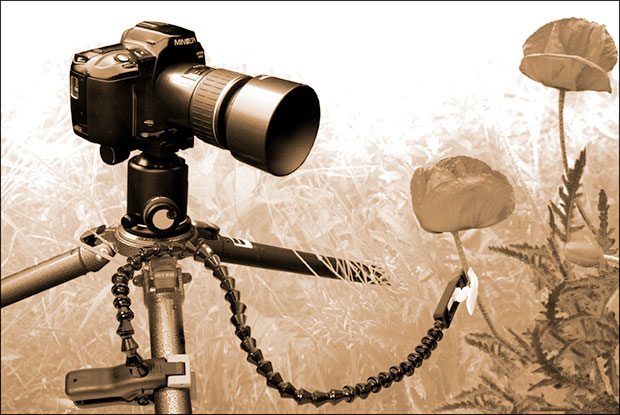
If you really decide you’re going to be a flower photographer there is an almost mandatory piece of equipment you need. It’s called a Plamp. (It’s a clamp for plants – hence its name, Plamp.) It’s a way to stabilize flowers and position them exactly as you want them. It gives you tons of control over the exact position of a flower—especially on a windy day. One end of the plamp clamps to a tripod leg—or any other stable object and the other end clamps to the stem of the flower without damaging it. You might think you could make one, but there’s really no substitute for it. They are a joy to use. Highly recommended.
6. BIDE YOUR TIME – WAIT FOR THE RIGHT LIGHT
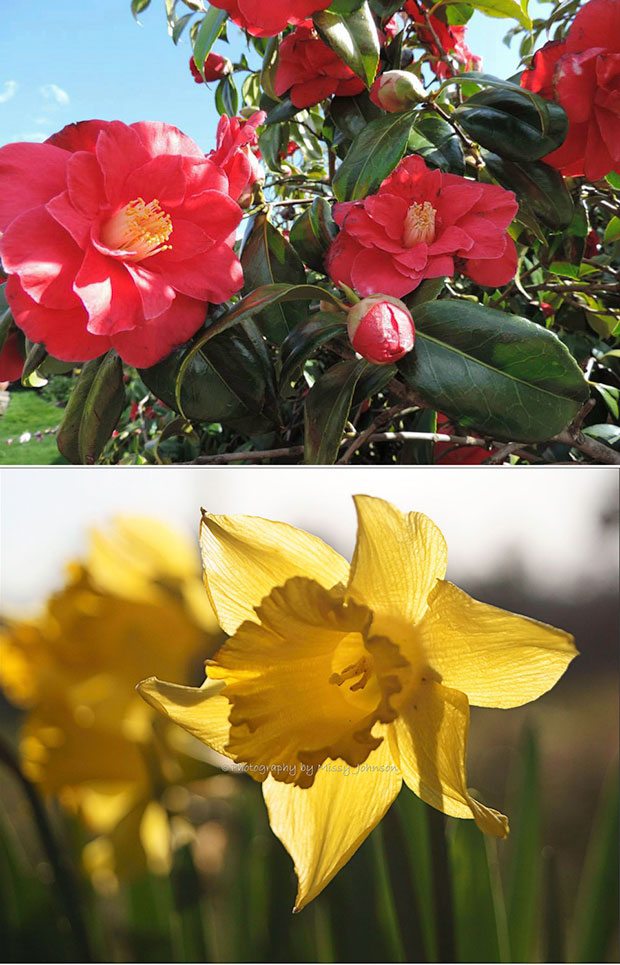
top photo by Jill S Kynaston / bottom photo by Missy Shew Johnson
There are certainly opportunities for flower photography in the middle of a bright sunny day, but you are probably going to be thrilled with the light you find early or late in the day. Solid colors being hit by a direct blast of sunlight can be gorgeous, for sure. Most flower photographers love a cloudy day—there are simply fewer variables and fewer challenges. But generally speaking, you want to wait for the light to be right—whenever that is. The mid-day sunlight in the top photo is a good example of light that you may have to wrestle with. If you wait until later in the day or earlier in the morning—like in the bottom photo—you may get to where you want to be much quicker.
7. STAY IN TOUCH WITH THE FLOWERS – WATCH THEM GROW AND ANTICIPATE
photo by Cheryl Flora
Knowing when your flowers are budding and blooming is key to capturing those pristine buds and petals. You want to get to a fresh new flower before the bugs and the wind and the rain do their damage. The magic window for whatever flower you may want to photograph may be as little as 12 hours. Having a flower pose for your camera at the height of its glory can be as thrilling as capturing any animal in the wild. But you have to be there at the right time. A little time spent reading and researching about individual flowers can enhance your experience and give you some photo ideas. Even a flower that hasn’t opened up its petals for the day can be a pristine celebration of life—if you know when to be there in the life cycle.
8. TRY TO MAKE EMOTIONAL STATEMENTS…YES, IT’S POSSIBLE
photo by Beth Thomander
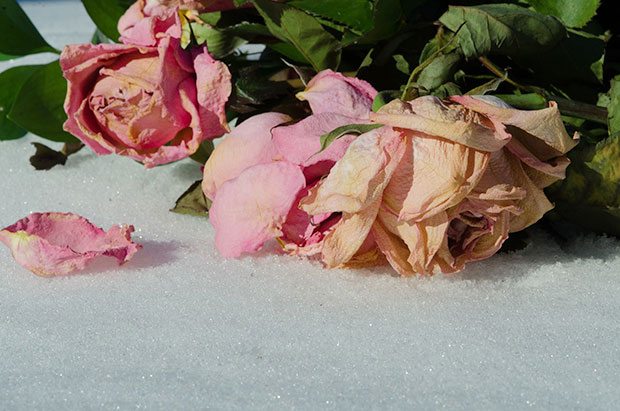
It’s hard to put into words exactly what I mean by this, but the very best flower photographs are more than simple record shots of something beautiful. They practically tell a story. They move us. They touch us. Maybe the flower looks vulnerable. Maybe it’s full of hope. Maybe it has to do with weather or the last days of its life. As hard to believe as it is, a good flower photograph can tell a story. Maybe it’s something as simple as the flowers are overcoming the huge obstacle of existence – just like you and me.
9. PLAY WITH DRAMATIC COMPOSITIONS
photo by Stephanie Wengerd Allen
One of the joys of flower photography is finding a dramatic composition in a subject that has been photographed a billion or more times. Flower photography is a wonderful opportunity to be playful and daring in your framing. Extreme cropping and putting things close to the edge of the frame are all ways to put your own personal stamp on your flower photographs.
10. DON’T FORGET THE OVERALL SHOT
photo by Carol Scheidel
It’s easy to get wrapped up in the extreme close-up, but stepping back and putting things in perspective can also be a totally valid way to celebrate the beauty of our petaled friends. There are infinite ways to play with patterns and color when you step back a few feet.
END OF PART ONE
Ready for Part Two? Click here!

