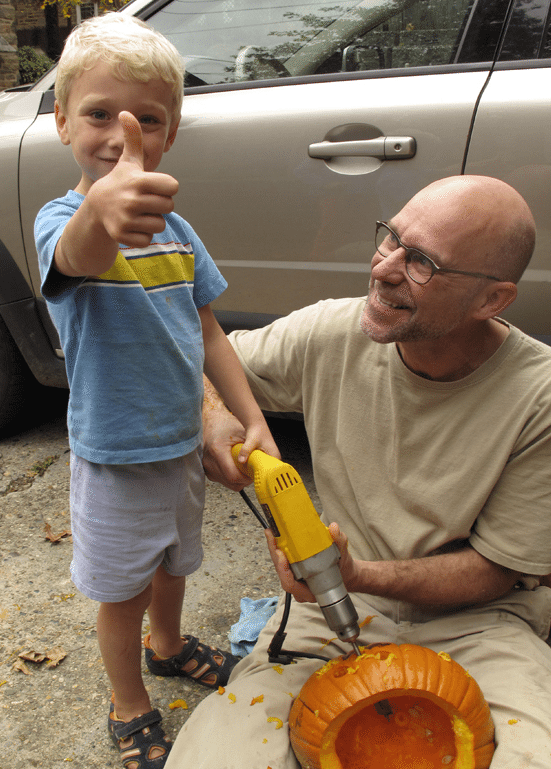
Yup, that’s right. It’s a drill.
1. Capture the seasonal fun
There are lots of photo opportunities leading up to the big night—photograph the orange hues of fall, pumpkin patches and uncarved pumpkins on the porch, making costumes, decorating the house or lawn, carving the pumpkin, toasting the seeds, school parade, parties, and other Halloween festivities.
2. Get a great shot of your lit jack-o-lantern
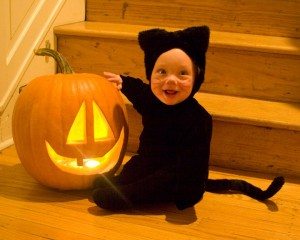
It’s good to get this shot out of the way before Halloween night, so as not to hold up the show when you’ll be more focused on getting shots of the kids. And by the way, jack-o-lanterns photograph best when you cut wide open features and have plenty of bright light inside so add extra candles. You may even want a candle or two on the outside to throw some light on the pumpkin shell, if there’s no other external light source. Or use backlighting—jack-o-lantern silhouettes can look great! Finally, adults (unless they’re in costume) don’t often figure prominently in Halloween photos, so why not get a shot of the key pumpkin carver with his/her glowing masterpiece (no costume required — just a face hovering over jack will do)! If the kids designed the jack-o-lantern’s face, let them show them off.
3. Photograph the costumes before Halloween
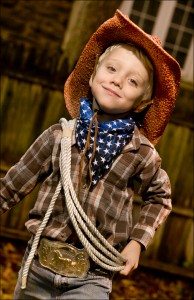
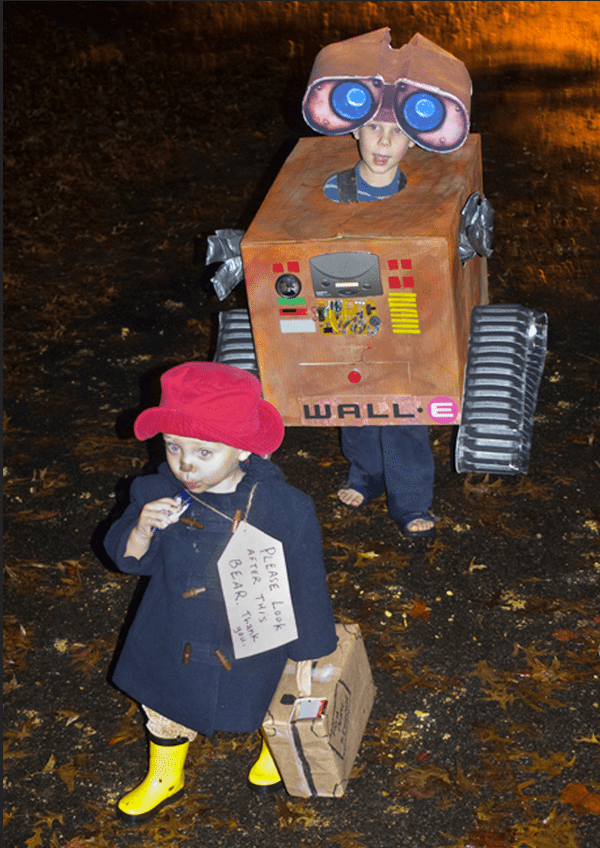
If their costumes are complete without make-up or other last minute details go ahead and get your shots the day they try them on–they’ll have natural enthusiasm unhindered by the impatience of getting out the door to trick-or-treat and you’ll have greater flexibility with lighting—easier in late afternoon daylight or twilight than at nighttime on Halloween. These shots can best capture the actual costume for their childhood albums and/or your bragging rights if they showcase your own creativity or sewing skills! Plus it’s nice to have some backups in the can if it should prove hard to get what you want in the heat of the moment on the exciting and busy big night. Get full head-to-toe portraits if you really feel the whole ensemble is necessary—and if the costume is one of the rare few that extends to footwear! But, in many cases you’d be better off just picking the most important part—the face make-up, the mask, head and torso and arm raised with a key prop—and getting in close to fill the frame with those details.
4. Get your photos before trick or treating starts
On Halloween night, photograph your kids before they head out, when their costumes—and their energy and moods—are fresh.
5. Turn off your flash if you can
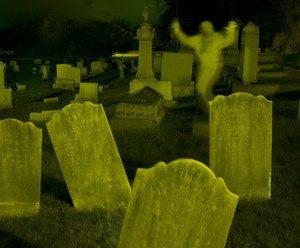
While a flash does give you the benefit of a sharp, in-focus shot both indoors and in the outside dark, it will eliminate any mood or atmosphere from your pictures. Mood may not be so important if your child is Dorothy or a Lego brick but it’s key for witches, ghosts and goblins. Twilight offers dramatic natural lighting but you may need fill-flash. And indoors or outside at night you’ll need to find an alternative light source, whether a lamp or a flashlight or your jack-o-lanterns, even if it takes a tad more time to set up and get the shot or if you sacrifice a bit of quality. If you’re shooting in manual that’ll mean a higher ISO but the added noise is probably not going to bother anyone in the case of Halloween shots. Your kids will likely prefer the shot with the Halloween nighttime atmosphere than any flash shot, regardless of the quality. And light from the side for more drama or underneath for a spooky effect. Also, this is the season to play around with fun photography techniques that can product eerie effects or use your photo-editing software to create extra-spooky images.
6. Embrace the ghoulishness of it all
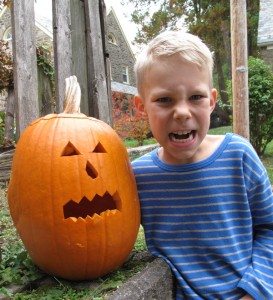
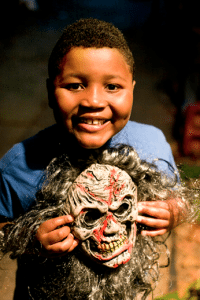
You spend the whole year trying to get your kids to smile or give a pleasant look for the camera. Well, Halloween is their lucky night as it’s a great occasion to take advantage of their desire to do the opposite. Have them get in character with their costume and let them make all the now appropriate faces! Oohs, boos, growls and howls—if they actually make the sounds, the expressions will happen naturally. Capture the fun and spirit of their costumes with their silly or scary or just plain old in-character faces and poses.
7. Ensure you get the whole picture
Once you’ve got your kids in costume and the jack-o-lanterns, you figure you’re done, until they come back and dump out their candy, right? NOT RIGHT! If you’re like my wife, she thinks it’s key to get shots of the kids in costume WITH the glowing jack-o-lantern. Easier said, than done, frankly—it’s a lighting challenge but if you crank up the ISO and learn to live with some mood-setting ghostly blur you might get something you like. Or bring the jack-o-lantern inside to get the extra light you need.
8. Trick or treat at your own door first
Here’s my favorite Halloween photo trick that I learned it from one of my fans: Send your kids outside, while you remain inside with your camera and shut the door. Then have them turn around and start their trick-or-treating at their own house—that gives you a chance to open the door and capture the naturalness of “the real deal”, but with the benefit of a natural light source (your brightly lit foyer) to illuminate their faces and their costumes! (You know how uncooperative kids can be in a photo shoot? Well, in this case, they’ve already been pre-primed with a sweet bribe, having waited impatiently all week for the big night and then oogled the candy as they watched you pour it into the bowl just before shooing them out the door. It’s sitting right there in front of them BUT… no treats until you’re satisfied with the shot!
9. Get photos with and without masks
If your child’s costume includes a mask shoot the full costume, of course, but also get a shot without the mask so you can capture his expression—not to mention, know who is behind the mask years later!
10. Just enjoy trick-or-treating without photographic worries
Once you’ve successfully captured their costumes, let go of the temptation to snap pictures while you’re trick-or-treating. Just enjoy your kids enjoying the night. Okay, you might want to get a casual snapshot of the scene of them and/or other trick or treaters out about the neighborhood, but the flash isn’t really going to give you what you want—maybe you’ll get something if there’s a bright streetlight, or you can get house decorations if they’re well lit. Such shots are likely to be grainy or blurry but can suffice to capture the mood of the night. After a few of those, just put your camera away and get in the spirit of things.
11. Photograph the loot
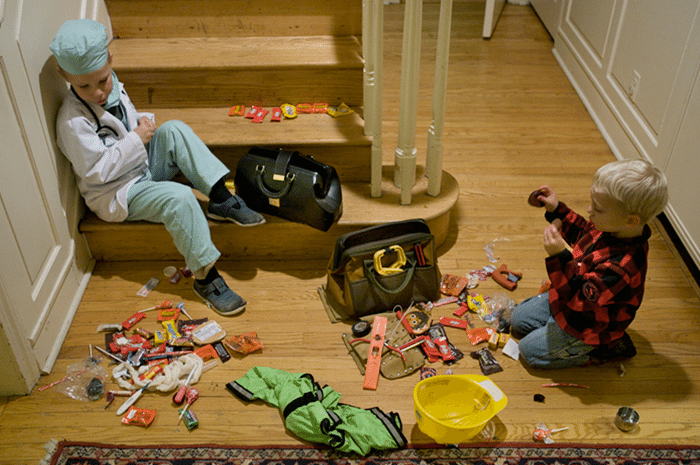
Back home don’t forget to take advantage of the final photo ops of the night. At this point there are great detail shots to be had. Discovering/showing off/comparing the haul, sorting the candy—the good stuff, the yuck stuff, the messy faces, the dissembled and discarded costumes, and the sleeping little bumblebee siblings or first time-candy eating toddlers nodding off over piles of unhealthy bliss.
12. Share your photos!
The day after Halloween everyone will want to hear how the night went. So get your photos uploaded right away and share by email, facebook, pinterest, shutterfly, etc. Show off your little angels and monsters and let the pictures speak for themselves. And if a picture’s worth a thousand words, a photo story or collage is worth a million! So choose a range of shots—overall scenes, full costumed portraits and key detail shots—for your photo album or scrapbook page, then take advantage of the electronic age to share away!
Click here to share your photos with our community at www.facebook.com/
Happy Halloween, everyone!

